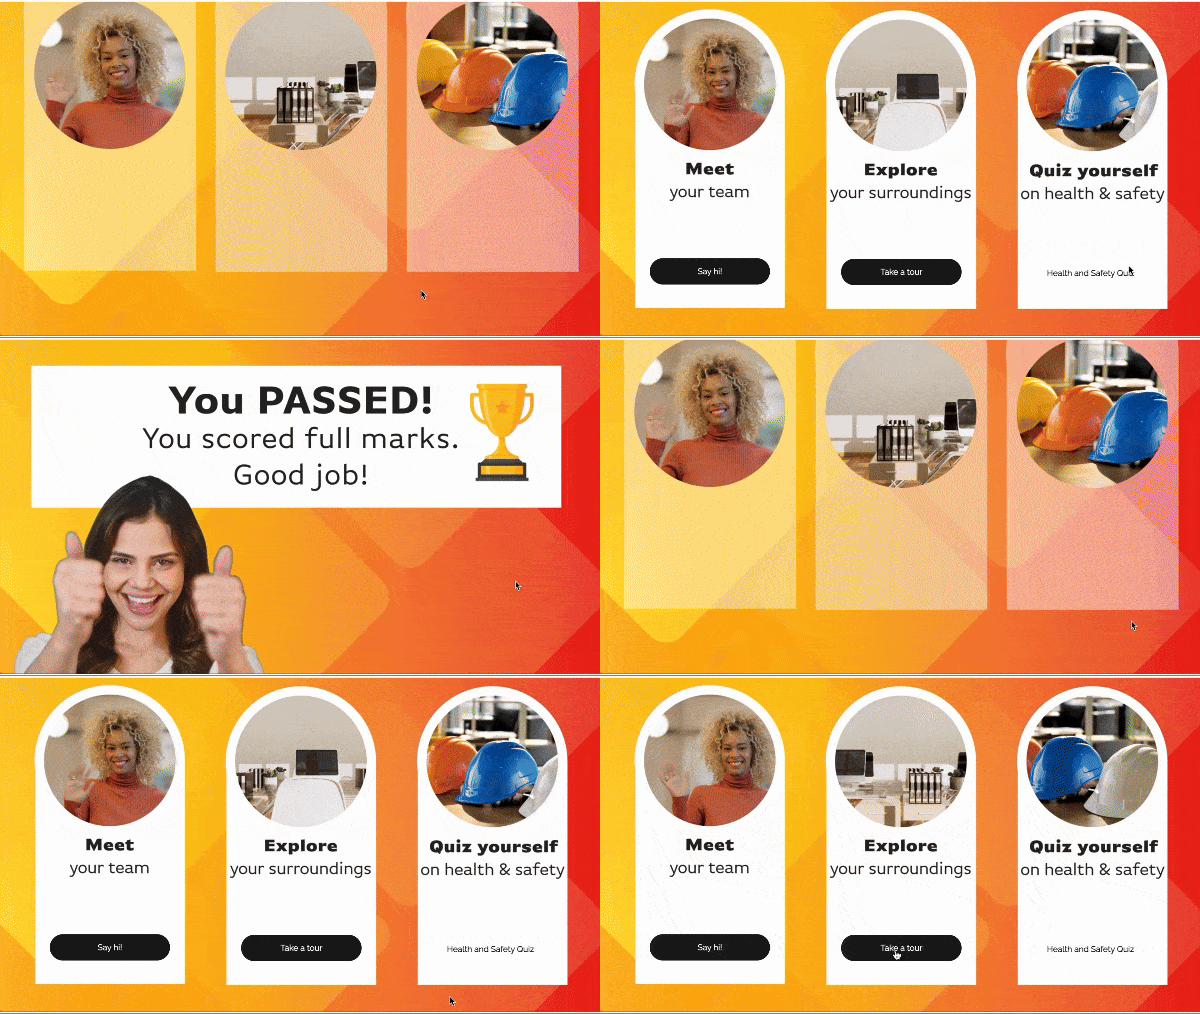
🔁 Show your viewers what they've seen
🌟 NEW! Button memory let’s you :
1. Show your audience what they have seen.
2. Select multiple options onscreen and personalise what they see
3. Reward them when they’ve finished their journey
Powerful for every project – from learning to marketing to demos. An incredible function for more personalized audience journeys and powered-up gamification.
This is a brand new feature and we’ll be adding more help around it as we go – but for now, dive into some of the explainers below and give it a try yourself 🚀
For extra help, contact us support@stornaway.io.
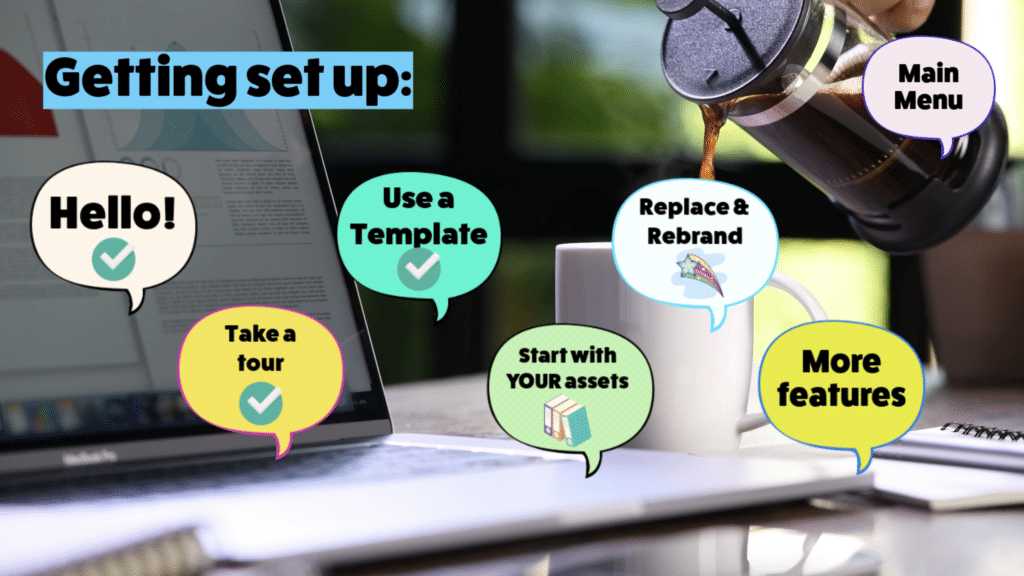
Button Memory lets you visually show that something has been seen. And store this action within the memory of the project for use later if needed.
Where do you want to begin?
⭐️ Simple checkbox setting OR More Advanced & On/Off button toggle settings
💡 How does button memory work?
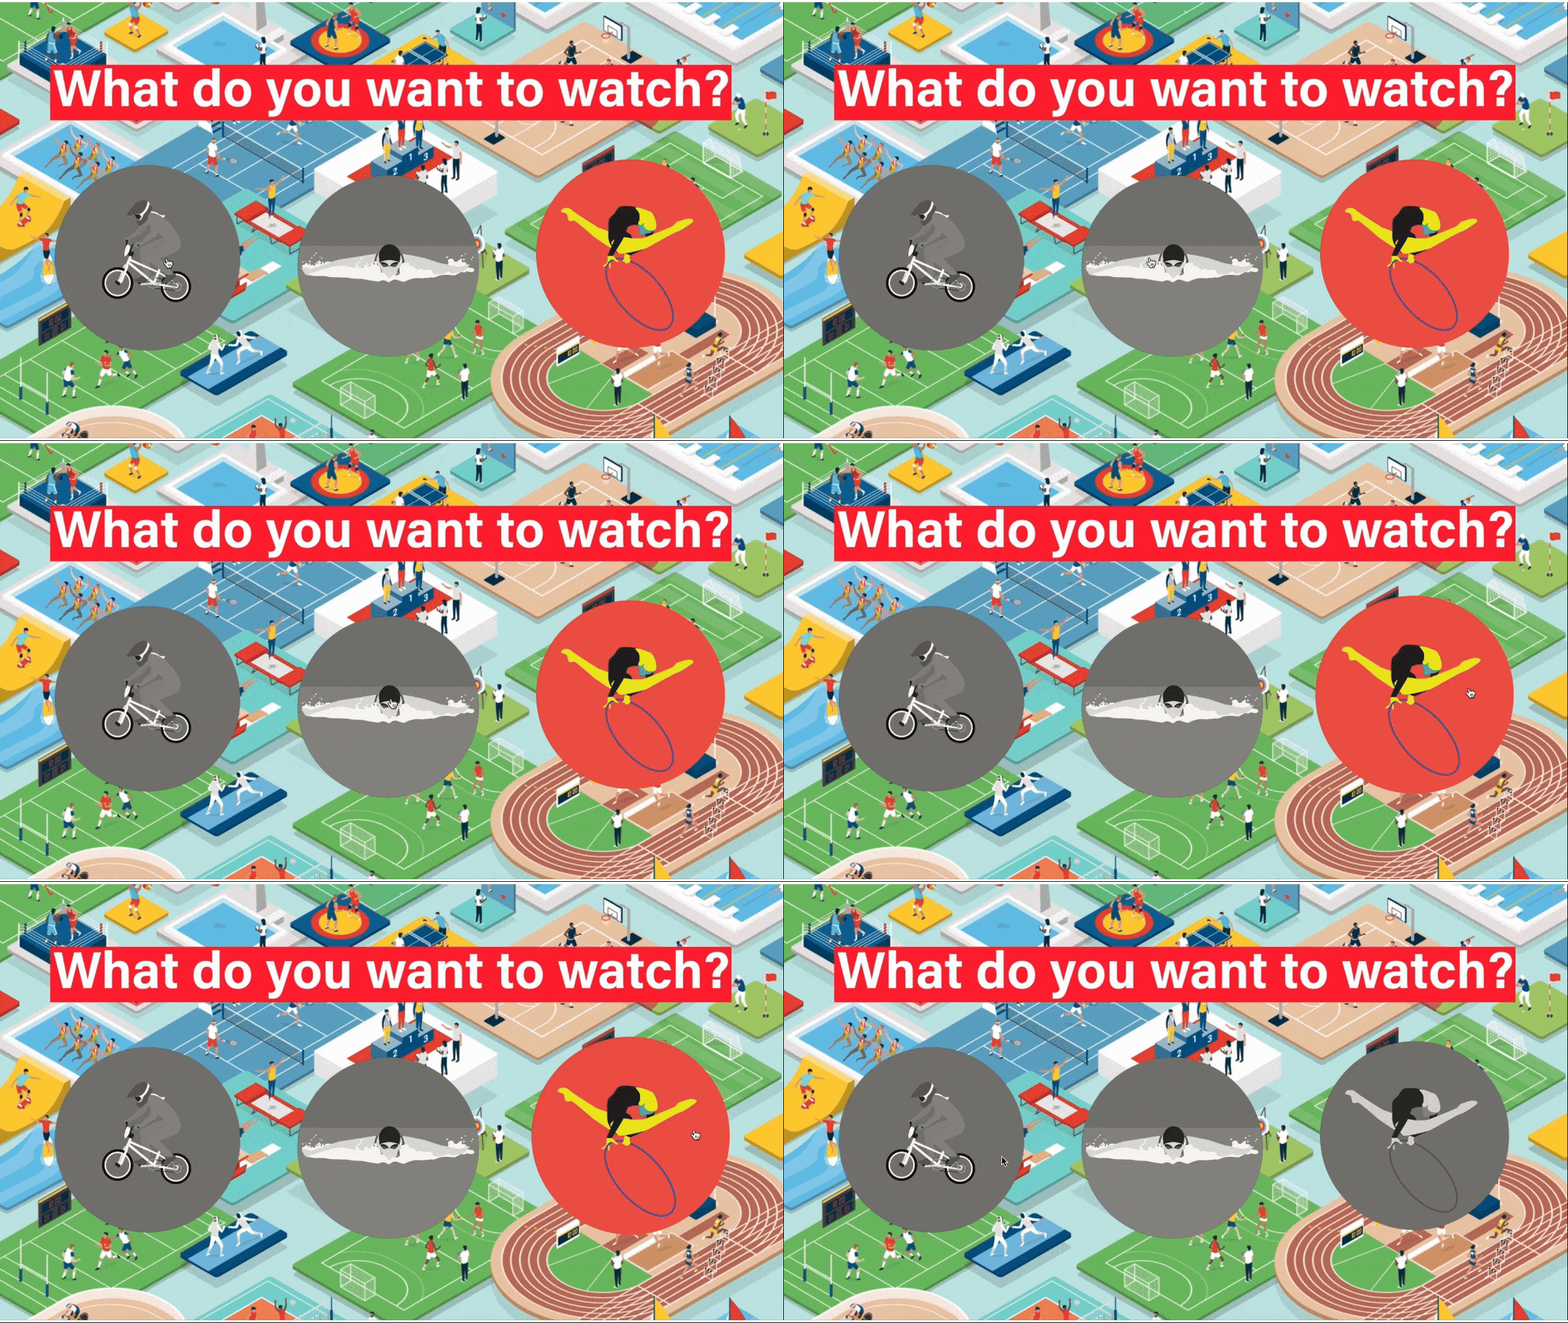
👀 Visually:
There are two ways to provide visual feedback to your viewers on videos they have already watched:
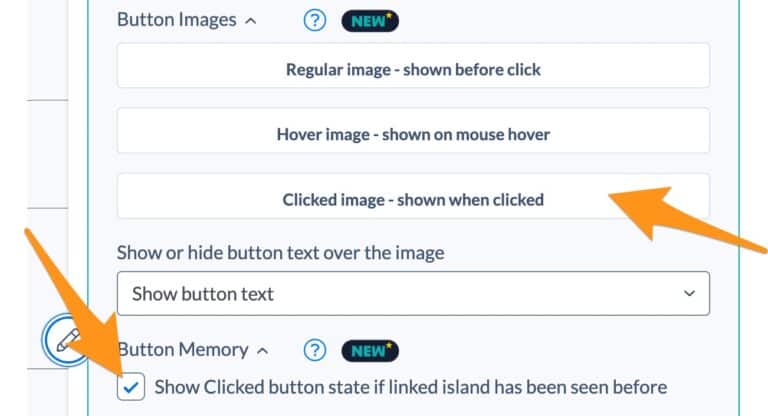
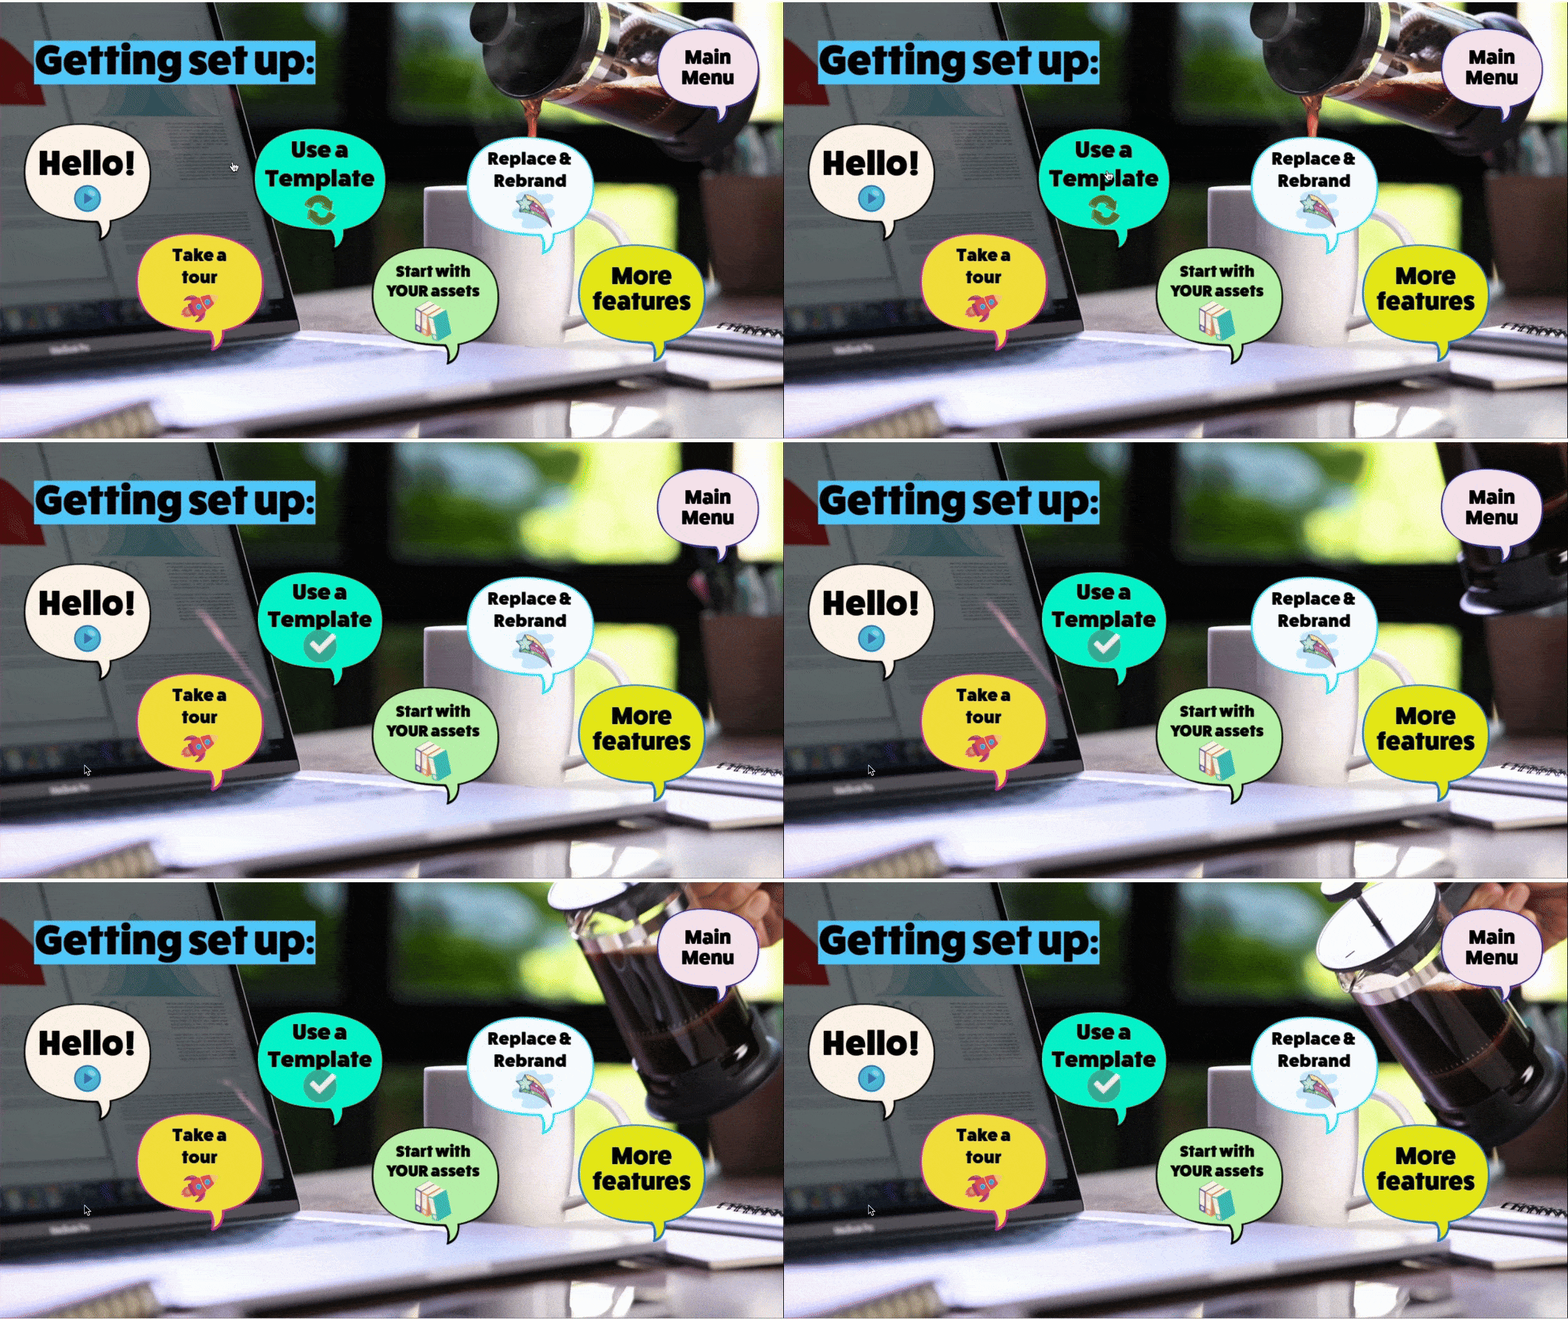
- Upload an image for the button’s “clicked” state that will be used to show if the linked island has been seen before – such as a graphic with a tick ✅, a greyed-out version of the “regular” button image, or something else entirely! It’s really up to you how you personalize and customize your projects.
- Our default button styles can also be used and the colors will reverse when the linked island has been seen before.
👩🏻💻 In the background:
You can also choose not to show that the button has been selected and simply use this data for a later point in the project.
The player is capturing information about what buttons the viewer has clicked and islands that have been watched. And there are a few different ways to set this up – depending on how you want to use this information.
Find out how to get started:
⭐️ Simple: Button History Memory
This is a checkbox setting.
Head to your islands settings panel > onscreen choices > button images > button memory.
Check the box to turn the setting “on” to save whether a viewer has seen the linked island before.
Uncheck the box to turn the setting “off”.
It’s as easy as that!
If you want to add some more advanced button memory, have a look at our guidance for this.
🚀 Go further with more advance button memory settings
🌟 More Advanced: Button Variable Memory
Hooking button memory onto variables is a great way to make your interactive experiences super personalized.
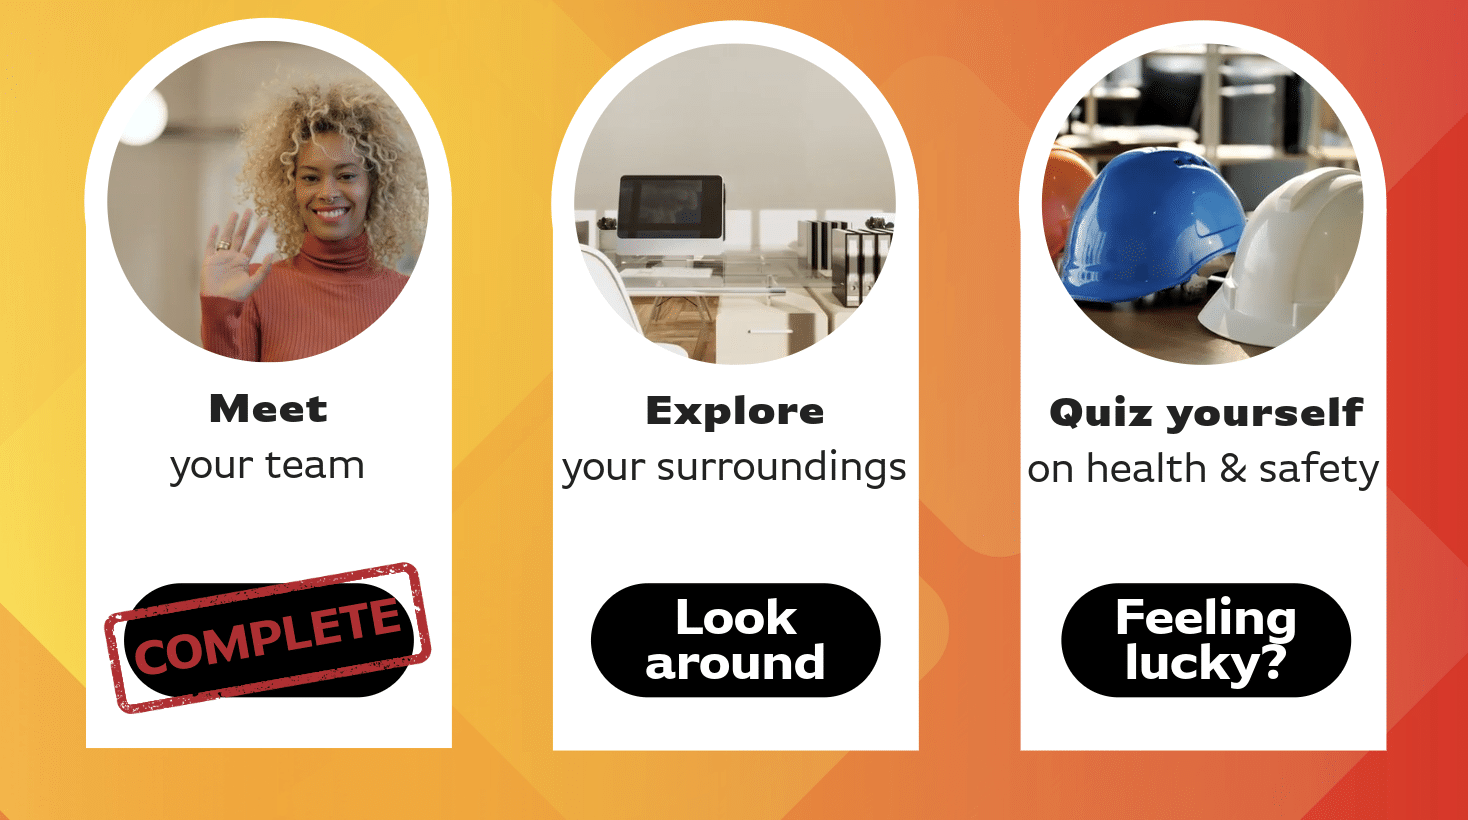
For e-learning courses or interactive training, you can use button memory to personalize the journey and show viewers the parts of the project that they have already “completed” using a different button state/image.
To set this up, you will need to create a variable that changes when a user has completed a specific area.
Here’s how we created this in our employee onboarding demo:
👉 How to use advance button memory
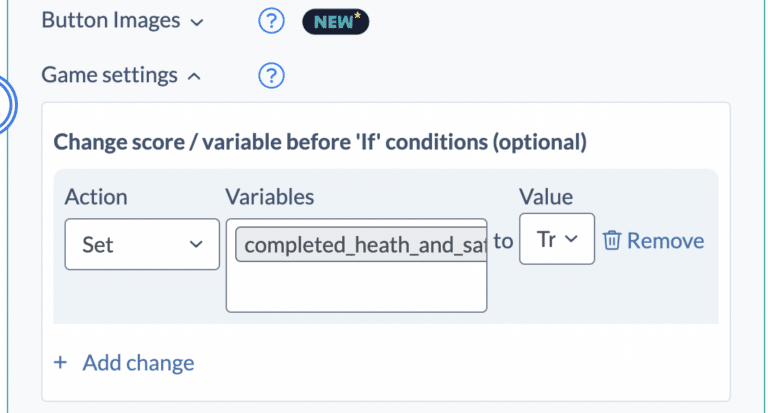
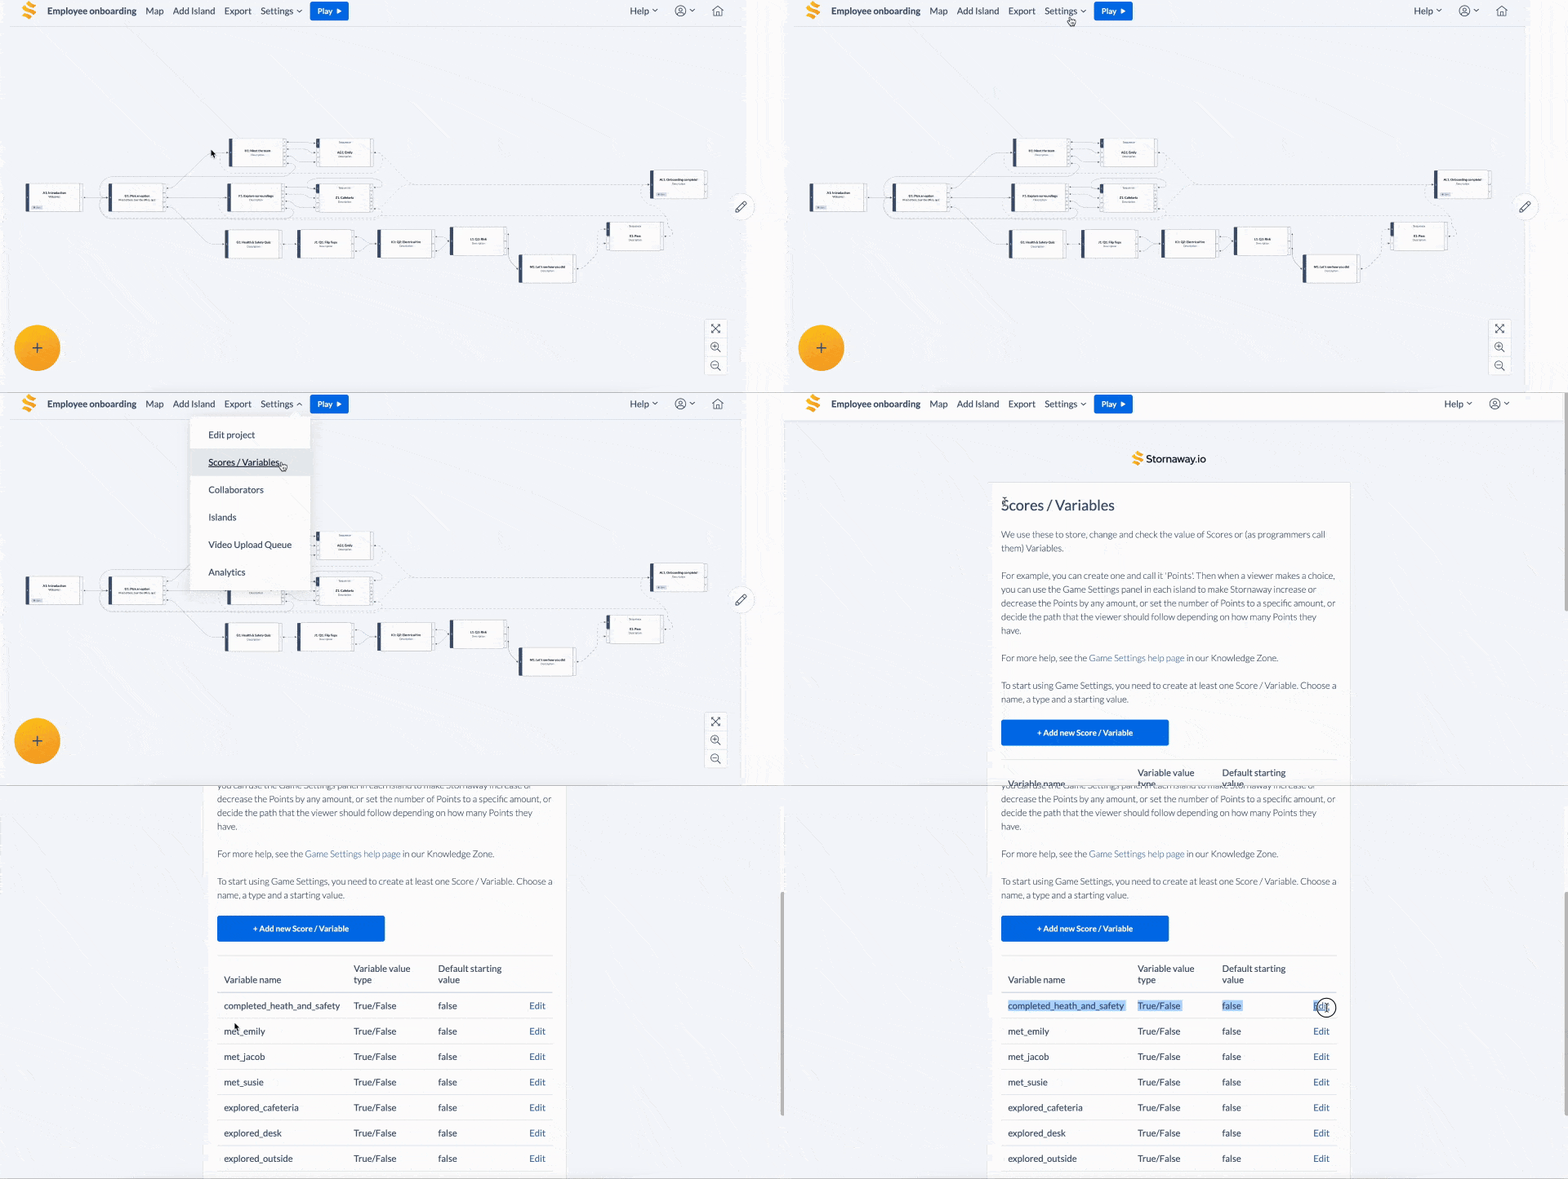
STEP 1: We created the following true/false variable within the variable settings: completed_heath_and_safety
STEP 2: Within the project map, we have set this variable to change to “true” once the viewer has reached the end of the health and safety quiz.
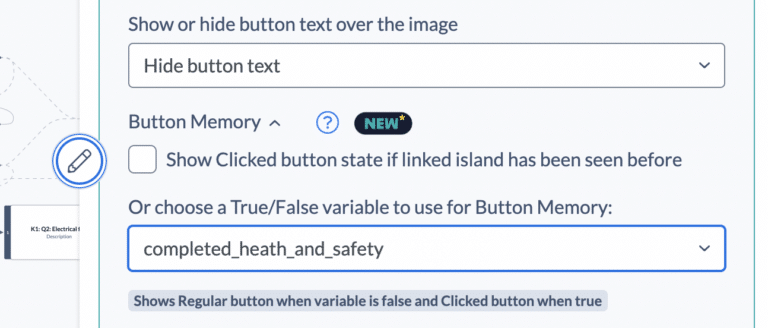
STEP 3: That quiz can be marked as ‘complete’ by selecting the completed_heath_and_safety variable in your button memory settings in the island settings panel.
Now, when a viewer goes back to the menu screen after taking the health and safety quiz, they can see that they have “completed” that part of their onboarding.

We’ll be adding more tutorials and FAQs for this feature soon!
⚡️ On/Off switch
Using the ‘On/Off switch’ feature allows viewers to select multiple buttons on screen before continuing their interactive experience.
This is perfect for multi-select questions/options during training scenarios or personalizing journeys.
Let’s walk through the steps we’ve taken to create the example playing above “Long Journey Checklist”:
👉 How to use the On/Off Switch
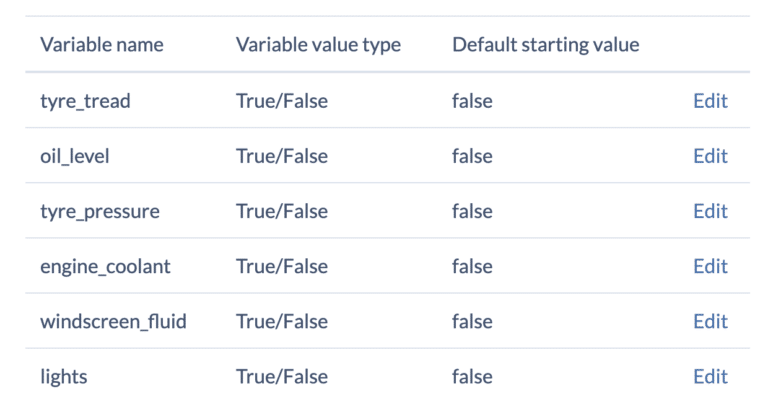
STEP 1: We assigned each of the items on the list a piece of data that would change status depending on whether it has been “chosen”.
In Settings > Scores/Variables, we created a true/false variable for each item on the checklist. Each of these variables has a default starting value of “false”.
STEP 2: We’ve uploaded 2 images for each item listed. The first is the regular image (shown before click) and the second is a clicked image (shown when clicked). This second image includes a tick to show the viewer that this item has been selected.
NB. We don’t want these buttons to take the viewer anywhere but to simply act as toggle on/off switches. So, we have left them unlinked.
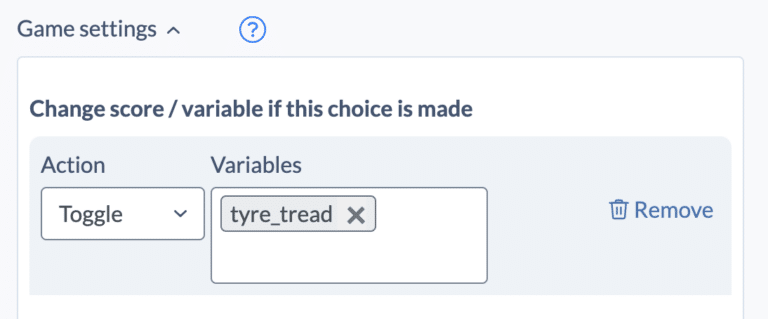
STEP 3: Now we need to create a “toggle” function that will change the status of the variable we set in step 1.
In the islands settings panel, you can create a ‘”toggle” action in the games settings section. Use this for each of the items in the list so that if a viewer selects it, the status of that item will be recognised as “chosen” (to get technical, this amends the status of the true/false variable to “true”).
This toggle action will mean that if a viewer de-selects that choice, it reverts to its original status of “unchosen” – showing you the first, unclicked image ( and setting the variable data to “false”) again.
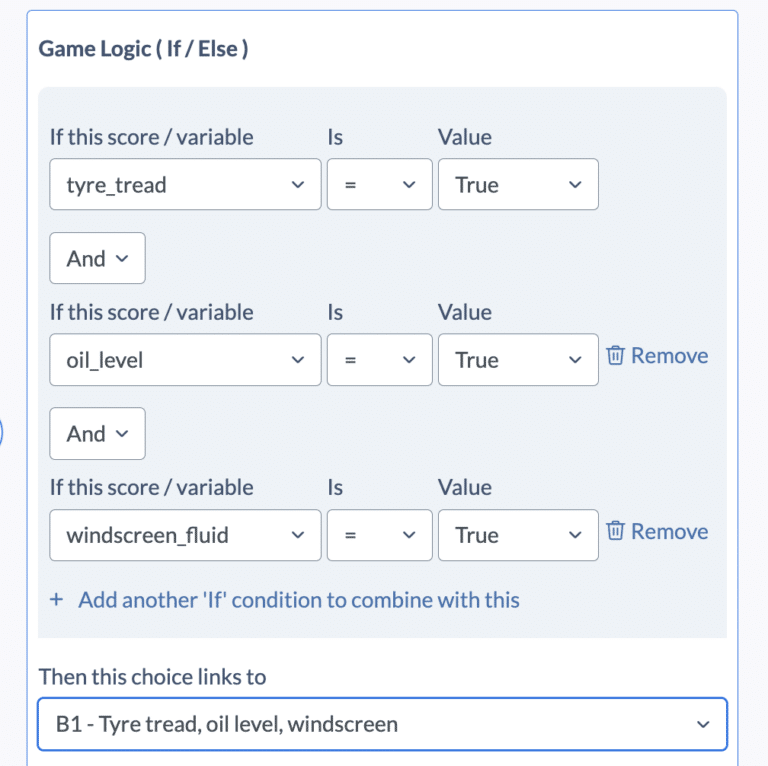
STEP 4: After the viewer has chosen the items, we want them to move onto a screen that will tell them if they’ve made the correct selections.
To do this, we have used some game settings. In this case, making use of the true/false information that has been gathered around each item and sending them to a specific island if they’ve selected all of the necessary items and, if not, sending them to a “try again” video.
Creating a personalized results video for each variation of button clicks.
More to come on this feature soon 🚀

